Centres give you your bearings
Before learning an algorithm, hold the cube still and identify its six centres. On a standard 3×3 cube, the centre pieces establish the colour of each completed face. A solved white face that ignores its neighbouring side colours is not yet a solved first layer.
Read a turn as an instruction, not a spell
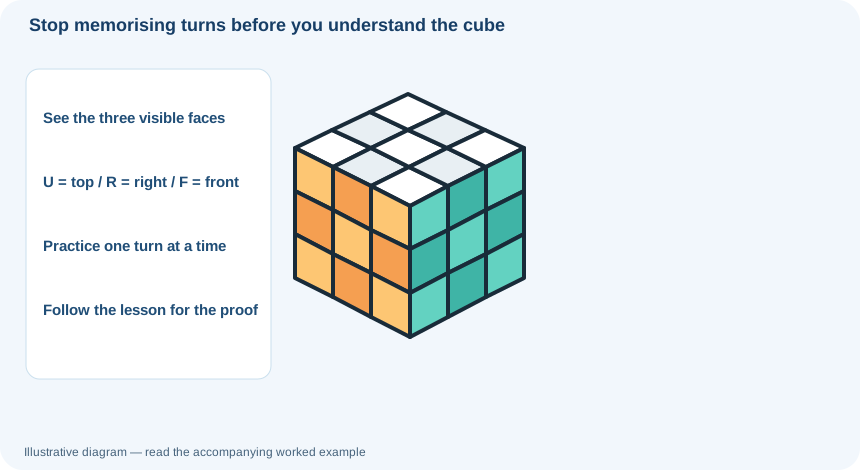
R means turn the right face clockwise as viewed from that face. U, L, F, B and D name the other faces. An apostrophe reverses the turn; 2 means a half turn. Practise a few moves and their inverses until you can predict which pieces will change places.
Build one reliable layer
Begin with a cross whose edge colours also match the neighbouring centres. Insert the corners and check the side stickers, not just the top. Move to middle-layer edges once the first layer is actually complete. Doing a step carefully is faster than undoing a step you did not check.
Last-layer patterns are not random
The yellow cross, corner orientation and final permutation may seem like several new puzzles. They are a handful of situations in which a known turn sequence moves some pieces while preserving work you have already done. Learn what each sequence is meant to change, then practise returning the cube to its starting orientation.
Make repetition useful
Do ten careful solves of one step rather than one frantic full solve. If you lose your place, describe where each centre, corner and edge belongs. That simple habit turns a memorised algorithm into a tool you understand.
Use the interactive diagrams in the Rubik guide when you need to see the effect of a turn.
A beginner’s checkpoint after each stage
After completing the white cross, turn the entire cube without twisting a face. Each white edge’s side colour should meet its matching centre. After the first-layer corners, you should see a continuous matching band along the top of every side face. Only then choose a middle-layer edge that does not belong on the last face. These small inspections take seconds and prevent a frequent failure: performing the correct algorithm on a cube whose earlier stage was never actually complete.
Learn what a sequence preserves
If a move sequence is supposed to insert an edge while leaving the first layer intact, inspect that first layer before and after. If it breaks, check the direction of the turn and whether you held the cube in the intended orientation. It is useful to repeat the sequence slowly while narrating which piece you are moving. The goal is not to chant R, U, R-prime; it is to link those symbols to a visible change that you can recognise the next time.
A reliable place to restart
When a solve goes wrong, put the cube down for a moment and identify the last stage you know was correct. Were all four white cross edges aligned with their side centres? Were the first-layer corners already matching the neighbouring colours? If the error began before the middle layer, practising a last-layer algorithm will not repair your understanding. Rebuild the earlier stage deliberately and describe each piece as you place it. These checkpoints turn a failed solve into a diagnosis. You do not need to remember a long history of turns; you need to know which invariant should have remained true.
A practical checkpoint
Before a new algorithm, choose one piece and point to its destination using the centers. If you cannot identify the slot, watch the corresponding Academy lesson first; memorising more turns will not resolve the location question.